|
15.4 - Door Seals for a MK2/420/S-type ( Tom Carson,
March 31, 2000
)

Left Side Installation

Front Lefthand Door Seals
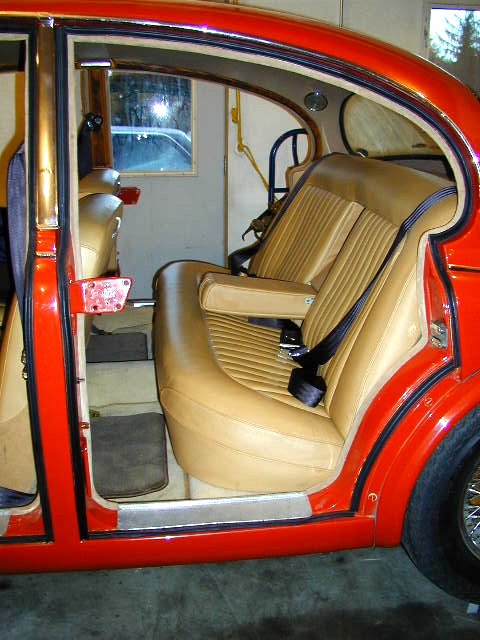
Rear Lefthand Door Seals
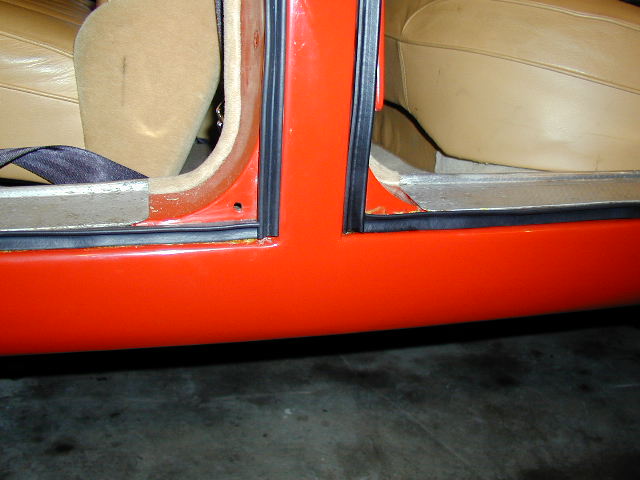
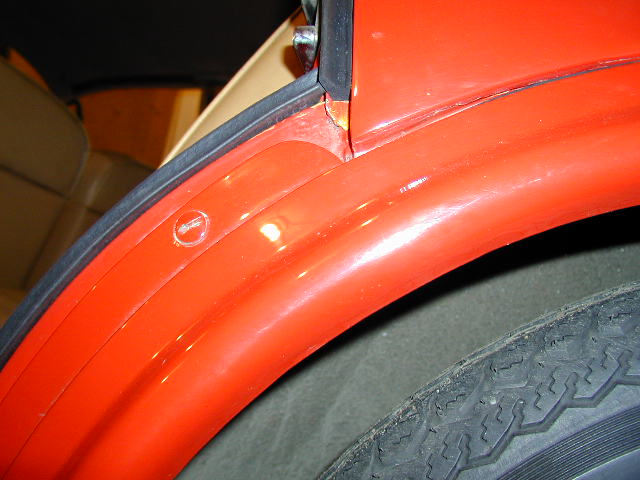
A-Post Drainage
Channel Squeezed Shut
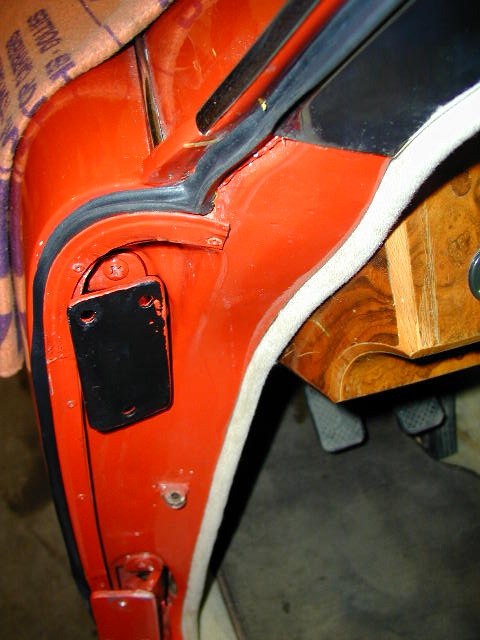
A-post drainage
route shown
A-post drainage channel
opened up with plastic tubing
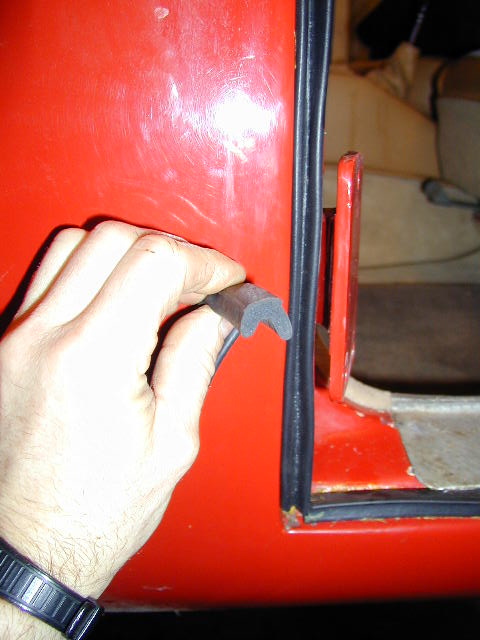
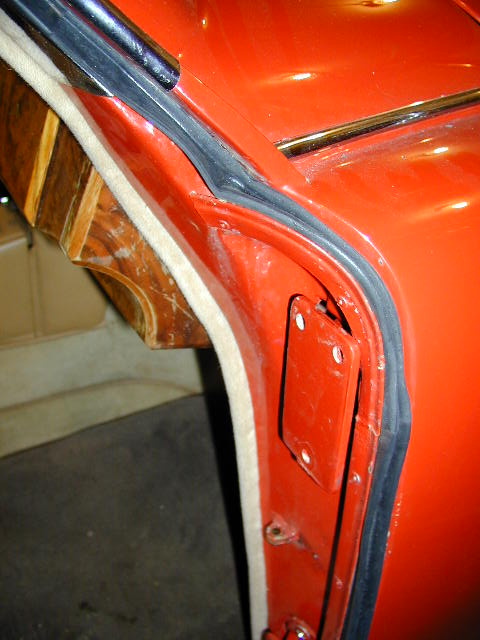
Lower A-post profile

Upper A-post profile
A-post front
channel before seal
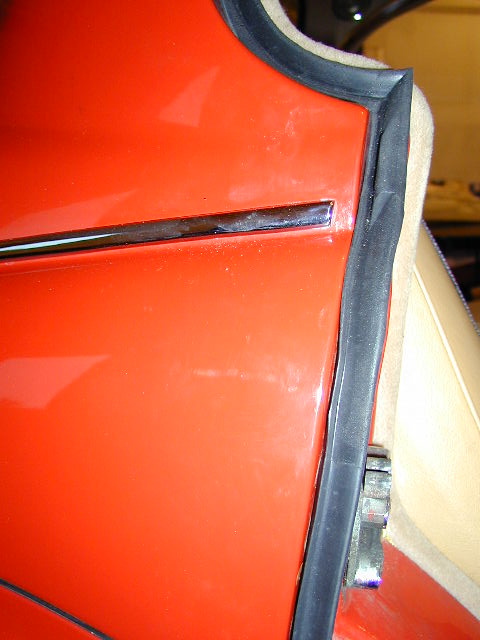
A-post upper channel
before seal
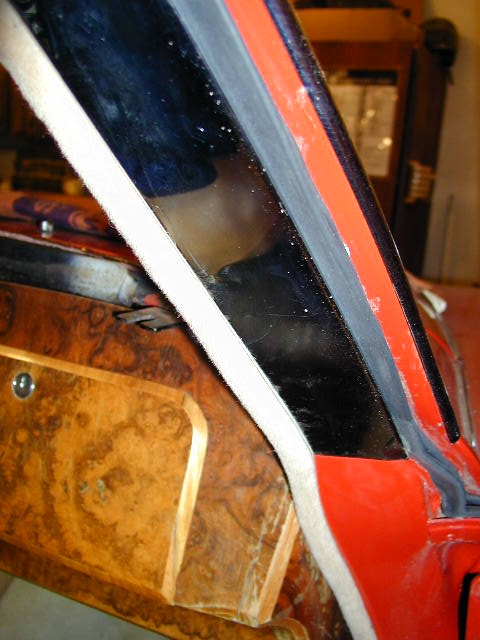
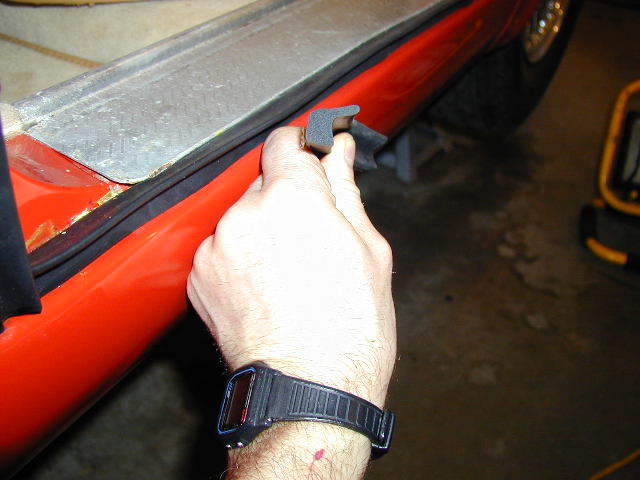
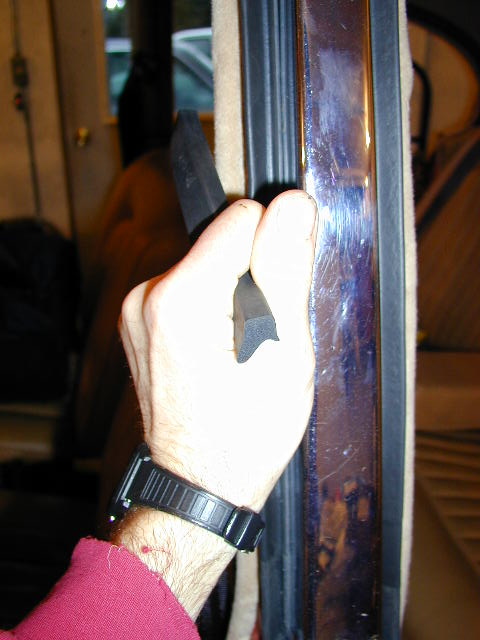
A-post upper seal
position for max extension
of sealing surface
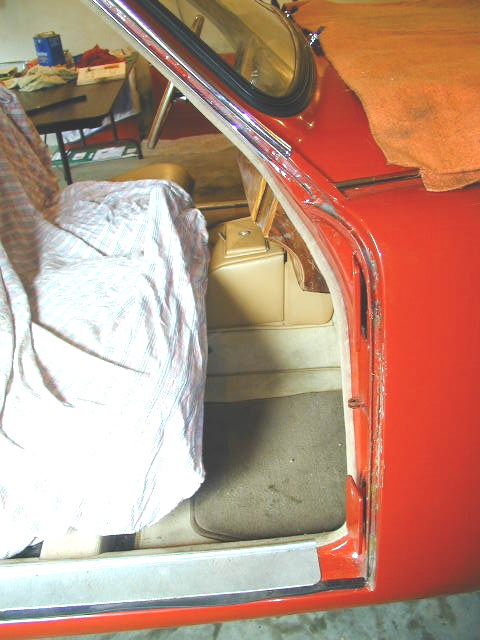
Sill profile orientation
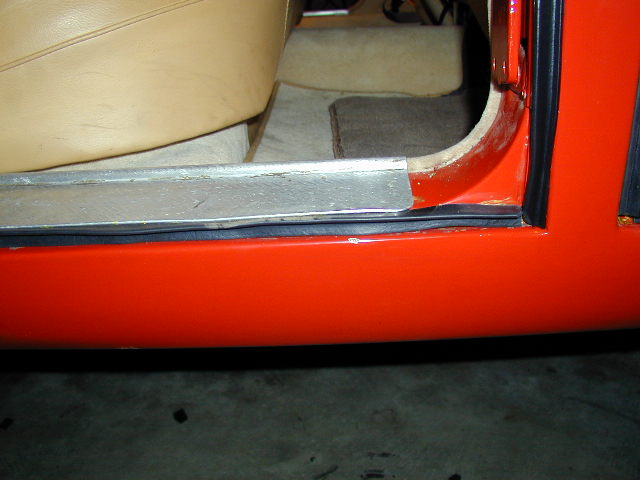
Sill front righthand side
Sill rear lefthand side

Sill lefthand overview
Sill rear lefthand side
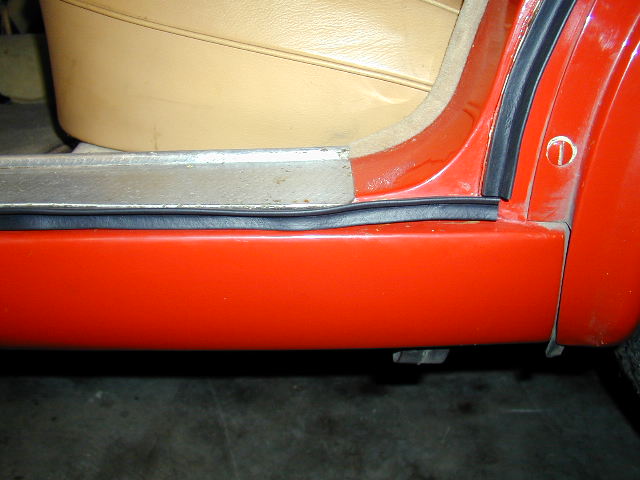
Sill lefthand B/C post

Sill front lefthand side
B-post profile
orientation

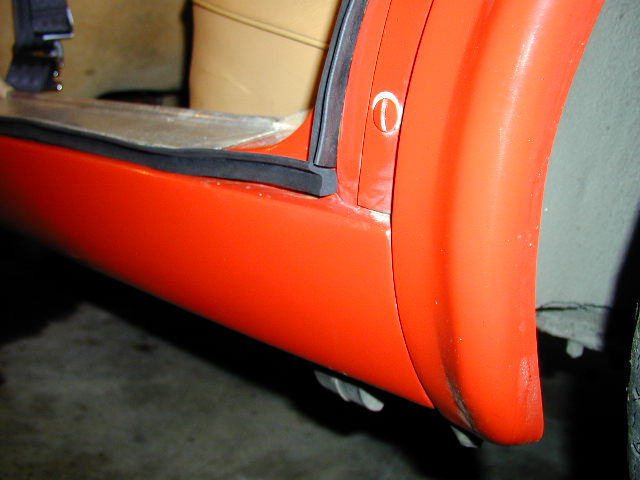
C-post profile orientation
my final decision although information varies

C-post lower
profile oreientation

B-post seal
installed
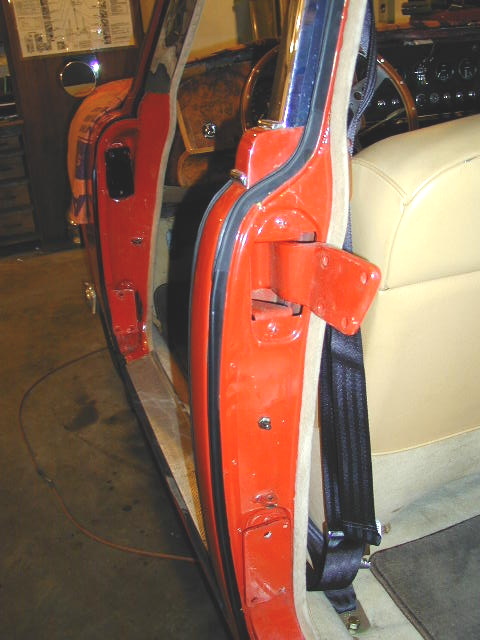
C-post seal
installed
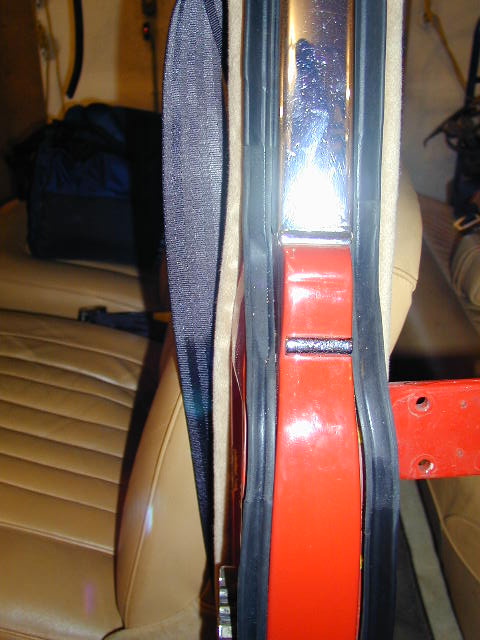
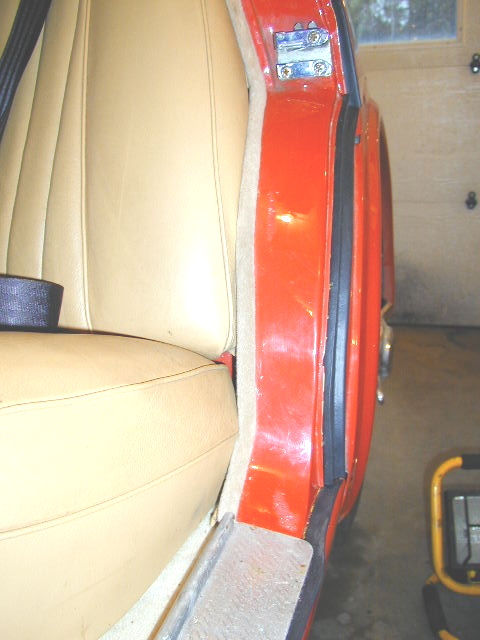
B/C Post.
Note B-post drainage channel
to rear of seal
D-post righhand side. Note
drainage channel to rear

D-post righthand side,
lower section

D-post lefthand side
lower section. Note lap
for drainage
D-post righthand side looking
up from below
D-post lefthand side mid-looking to rear

Tom Carson
|
A few comments on installing door seals:
1) I have found that "super trim adhesive" (3M) does not adhere satisfactorily to the new rubber seals unless the surface of the seal to which the adhesive is applied is first roughened with sand paper and then cleaned with Acetone. If this is not done, the seals come loose within a day or so, especially if they have gotten wet in heavy rain (good old Juneau). This could be a real bummer if the seals at the leading edges of the doors come loose. I am about ready to try Super Glue as recommended by some on this list if I experience any more problems.
2) When installing the seals against which the window frames will close, take special care to position the seal so that the sealing "wing" protrudes out from the body to the maximum extent possible. This will allow the window frame to contact the seal more readily without too extreme an adjustment inside the door (at the bottom end of the frame where it bolts to the door). The factory used wooden shims at this point, I used a 1" hole saw and cut plugs out of PVC sheet material.
3) The leading edges of the rear doors were the most cantankerous seals to fit on my car. The bottom hinge would foul on the protruding "wing" of the seal. I finally trimmed the seal at that point so the hinge swung past the seal without touching it. Similarly, I found that as the door swung shut the top leading edge of the window frame would catch the protruding "wing" of the seal at the top of the "C" post. Had I left it that way, the seal would have been folded over on itself every time the door closed. Here I again slightly trimmed the seal to prevent such an occurance. This was necessary on only one side of the car.
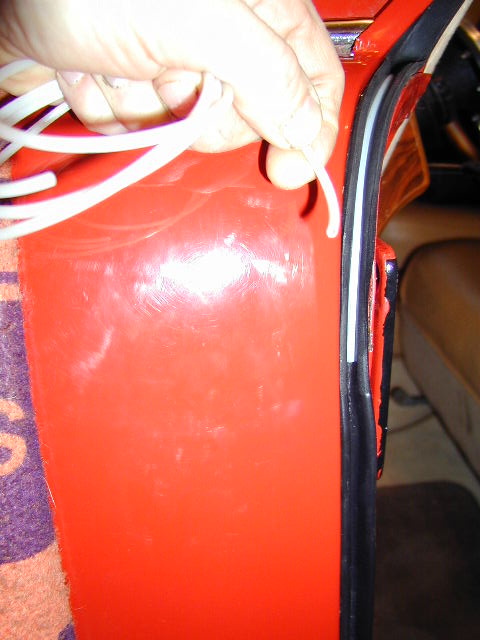
4) The factory installed a plastic sheet on each door before the door trim panel was installed. In my opinion this is a very important item because water runs down the outside of the window, inevitably gets past the squeegee (or brush as on my doors), and finally drips off the bottom of the window mechanism on it's way to the bottom of the inside of the door. Because of the shape of the door, some of the drips actually hit the inside skin of the door first. Without that plastic carefully installed and sealed on the door skin, those drips will find their way through the various holes in the inner door skin to the inside of the car, where they will cause the carpet to get wet. Carefully installed plastic sheet keeps the water on the inside of the door. I used Sikaflex 1A urethane caulk (it is sticky, seals well, stays flexible and allows the sheet to be pulled off in the future). So long as the drain holes at the bottom of the door are functional, the water drains to the outside and the interior remains dry.
15.4.1 - Door Seal Replacement for a MK2/S-type ( Jacques B,
June 21, 2005
)
I replaced the door seals on the MK2 a couple of years ago
using J.C. Whitney Stock # ADA818835T.
The profile and consistency of these seals were a perfect
match for the still intact portions of the orginal seals I
removed.
They come in 8 ft. rolls that sell for $8.99 a piece (+
shipping). IIRC, 5 rolls were needed to do all 4 doors.
I did, however, remove the original thin rubber strip in the
bottom of the seal gutters. I don't know if it would have
been thick enough to make a difference as far as door
alignment is concerned, but the new seals ''sat'' much better
without it. In fact, I never did get around to glueing them
in, and none of them has come out yet.
|


