|
10 - Bodywork and Interior ( ,
)
The X300 bodywork and underbody are generally free from rust and other vices. The interior is also well put together and not prone to rattles and squeaks. To maintain this condition, care should be taken to ensure cable runs and fittings are correctly reinstalled and any tie-wraps or other fixings replaced before reassembly is completed.
10.1 - Access to Centre-Console - Ski-Slope Removal ( ,
)

|
Open the ashtray, remove the lighter and internal bin and undo the two screws at the rear. Remove the ashtray itself, disconnecting the electrical connection to the lighter as you do so.
Feel into the hole and forward under the centre wooden trim. There are two nylon wing-nuts, upside-down, holding the wood in position. Undo them.
Remove the plastic transmission selector surround by squeezing gently on the sides to release the clip fixings - two on each side. Lift the plastic and disconnect the Sport/Normal switch wiring.
Remove the chrome / leather selector surround, again by squeezing gently. This time the fixings are at the front left, front right and rear middle of the surround and it is often best to start with the one at the rear. It can be a little tricky and frustrating, but it will finally release so try not to force it.
From the back, ease the main wooden trim panel upward so that the bolts clear their mountings and then withdraw it backwards and away.
You can now access the climate control unit, clock and radio units. Removal is simply a matter of undoing the six fixing screws and pulling the unit forward. Take care not to stretch or force any wiring. Refiting is equally simple, but take care not to trap wires or loosen any other connectors.
10.2 - Doors ( ,
)
10.2.1 - Loose Wing Mirrors ( ,
)
Gently prise off the plastic cover on the bottom of the hinge and use a long Philips head screwdriver to tighten the three screws. If the problem reoccurs, try Loctite or something similar to hold the screws tight, or alternatively fit a slightly fatter screw.
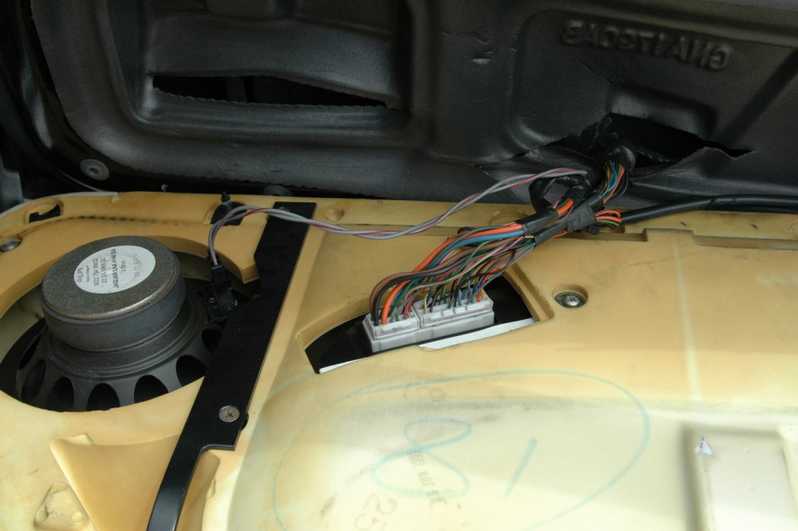
10.2.2 - Changing the electronic window/mirror control ( Olly,
June 11, 2005
)
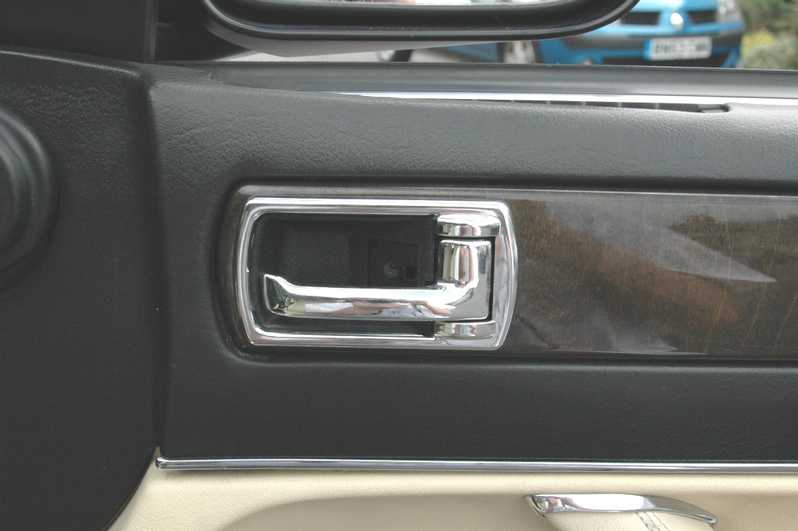
Starting out is relatively simple...using the flatheaded screwdriver, remove the plate behind the door opener.
Remove the screw there, and the plastic behind of the doorhandle should come out with relative ease!
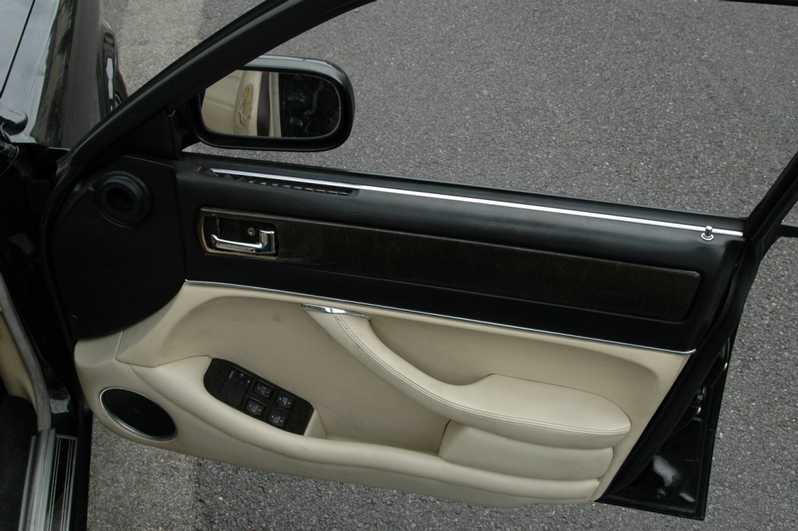
Press on the wooden panel and slide it towards the steering wheel, it should then leaver out without too much fuss.

With the wooden panel off, there should be two screws behind that (sorry, no picture!), remove these and the top half of the door should become loose. Pull this up at the lock end (and make sure the m

With the top half of the door pulled back, you should be able to get at the top screw that holds the door panel on.
Next, remove the red light cover at the bottom of the door (pulls downward), and remove the small flat-headed screw (note, may be a philips!)
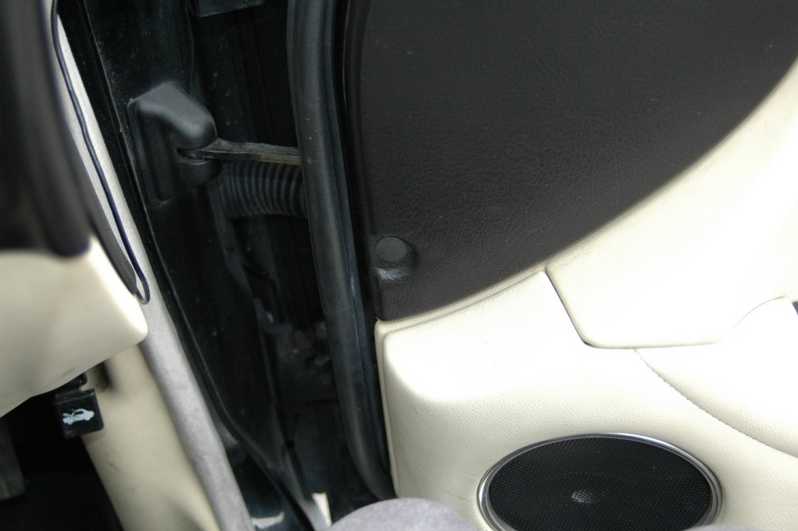
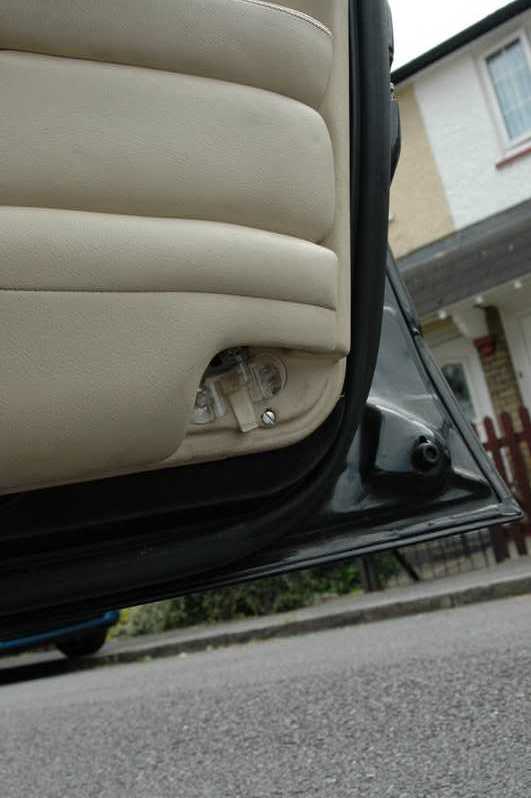
The door assembly should be fairly loose by now, the final part is to remove the black lug found on the inside of the door near the hinges. With that removed, gently pull the leather assembly backward
The door assembly should be fairly loose by now, the final part is to remove the black lug found on the inside of the door near the hinges.
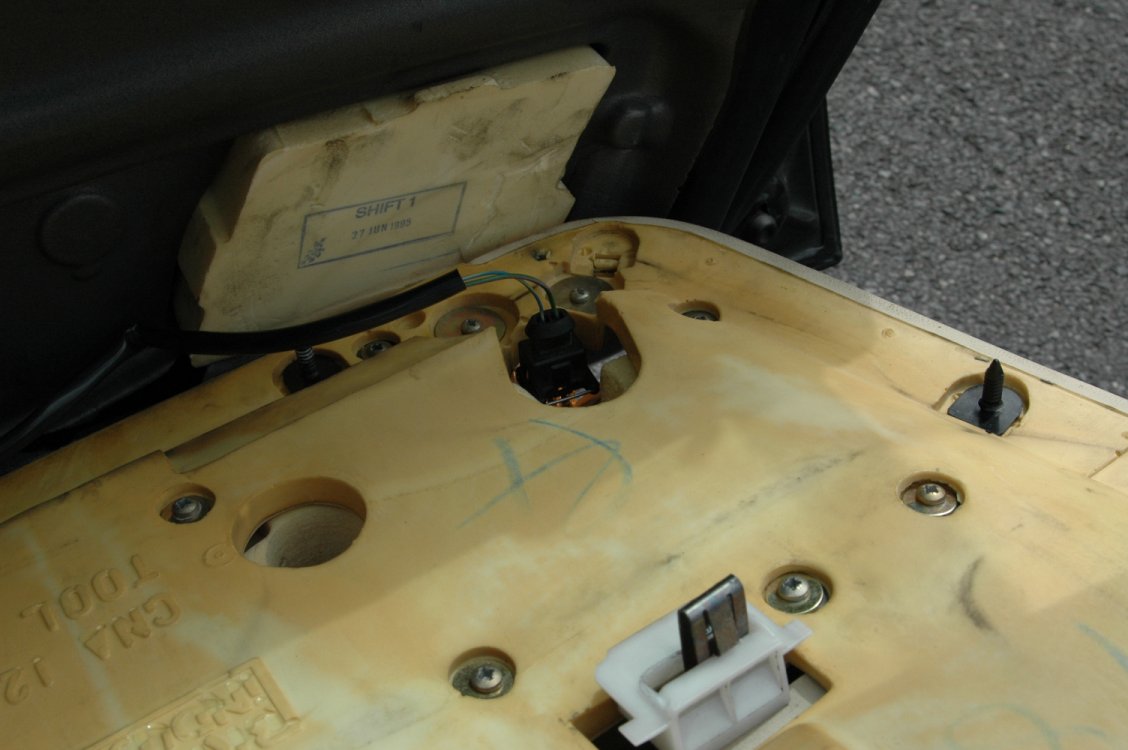
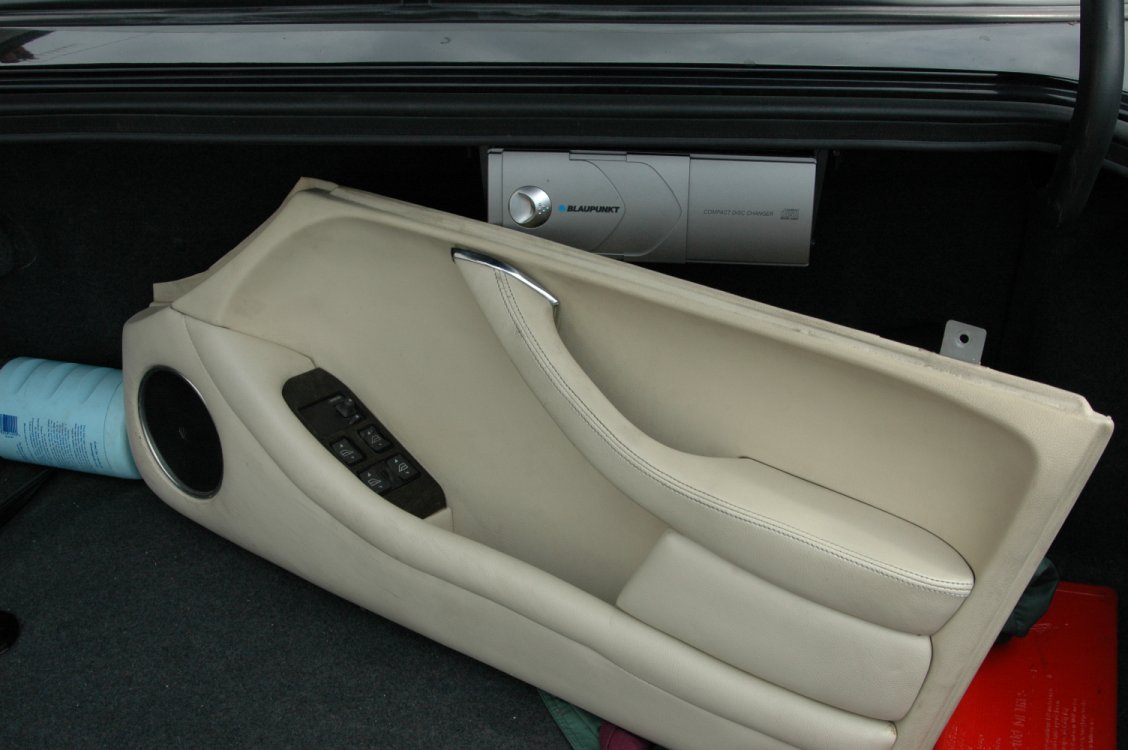
Finally, you should have the door assembly clear now.
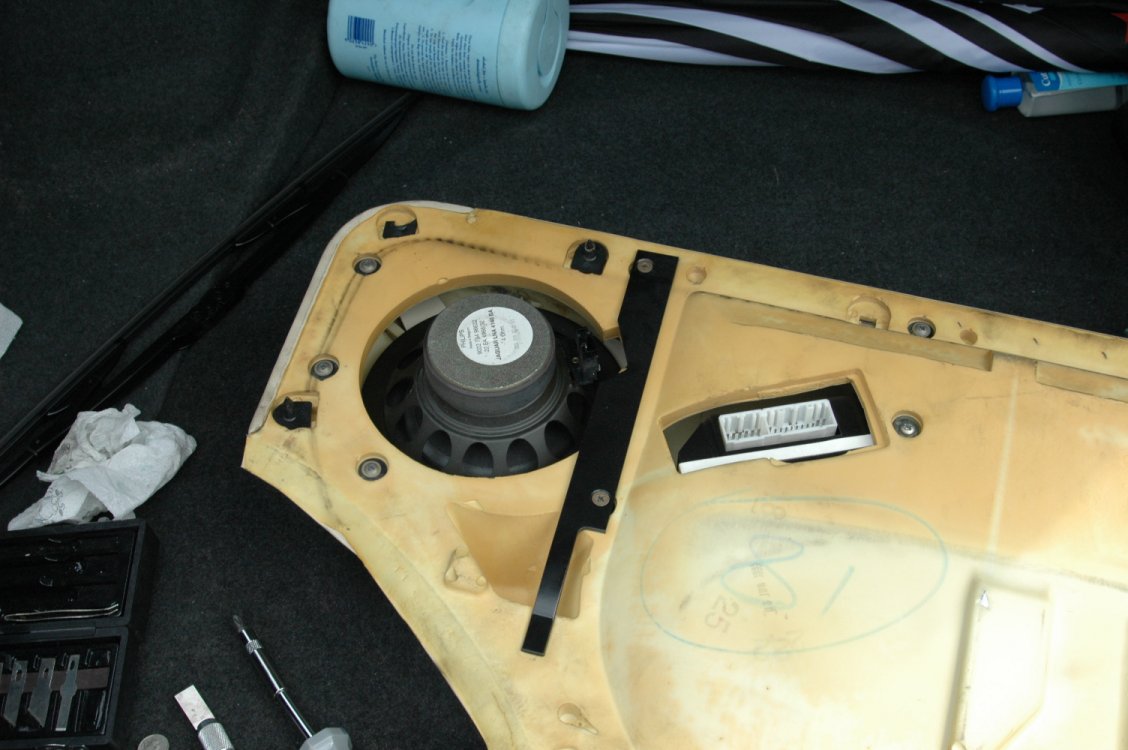
Flip it over & remove the bar on the back (note, make sure you put this back on during re-assembly, or else you ll have to go through all the above again :)
|
If like mine, your electric window control unit has lost the little joystick that lets you adjust the mirrors, changing it is actually a lot simpler than it looks. Tools needed are a flatheaded screwdriver, a decent sized phillips screwdriver and a pair of pliers (although, this could probably be swapped for a ratchet bit of the appropriate size - will check & find out what size it needs to be!).
I picked my replacement unit up from JoJags for a very reasonable ú60+vat (worked out at about ú75 after vat & postage), they were great...I ordered it on Thursday, and it was here on Friday morning!
I'd also recommend picking up a couple of spare clips which hold the leather half of the door onto the frame, as two of mine were broken in the process (will add the Jaguar part# when I get round to picking a couple up!)
One final note, I'm not a mechanic/professional at this, although this is really as far as I'd want to go with fiddling with my Jag...if at any point, you're not happy or something doesn't seem right, stop & get someone who is a professional...it'll be a lot cheaper than the alternative :)
10.4 - Keys ( ,
)
Like the XJ40, the X300 uses Tibbe style keys. If the master key is lost, these can be cut from a code which can be derived from an existing key.
The lock has 8 tumbers, and for each tumbler the key has either no cut ( code 1 ) , a half cut ( code 2 ) or a full depth cut ( code 3 ). The eight digit code is simply a digit per tumbler, reading from the body of the key towards the tip.
10.5 - Rear Fuse Box Access and Seat Removal ( ,
)
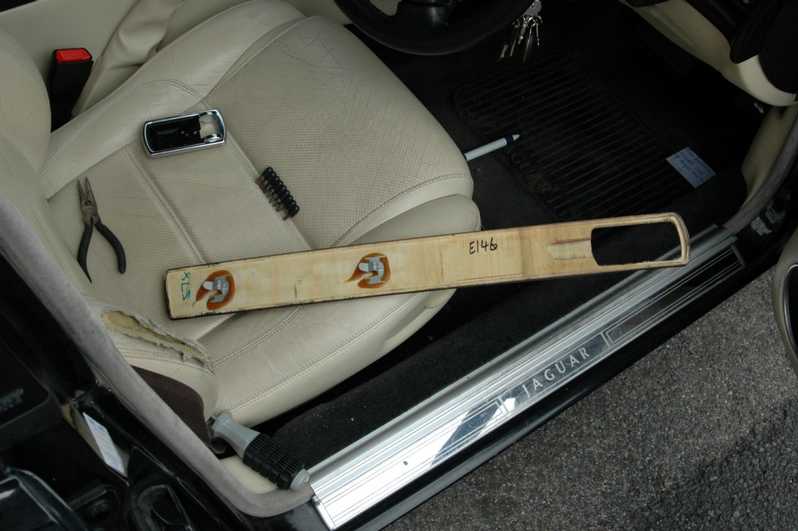
Set in the rear floor carpet, just ahead of the seat leather, are two screws which allow the vertical panels at the front of the seat base to be removed. This gives access to the left and right rear fuse boxes and relays.
There are then two more screws holding the rear seat cushion. Push the seat belt buckles down through the hole they come out of, before then lifting the cushion.
The seat back is held in place by two screws in the middle and two at the edges, visible where the cushion used to be. To remove the back, first lift upwards and then pull out.
10.6 - Access to Boot / Trunk ( ,
)
If the locking mechanism fails or no power is available, it is possible to open the boot using a long thin screwdriver through the lower right licence plate mounting hole.
Follow the linkage rod from the lock mechanism itself going left, towards the centre, to where it joins the catch mechanism and push here. It can help to shine a light through the left side licence plate hole, and also to get a second screwdriver in here to take a little of the tension off the catch itself, though not too much or it will spring back into place.
10.9 - Body Rust ( ,
)
Some vehicles have shown evidence of rust around the windscreen seals, on the A-pillar and around the sunroof. Whilst not serious, quick treatment will help avoid later problems.
|


